Introducing the Shell
What is the shell?
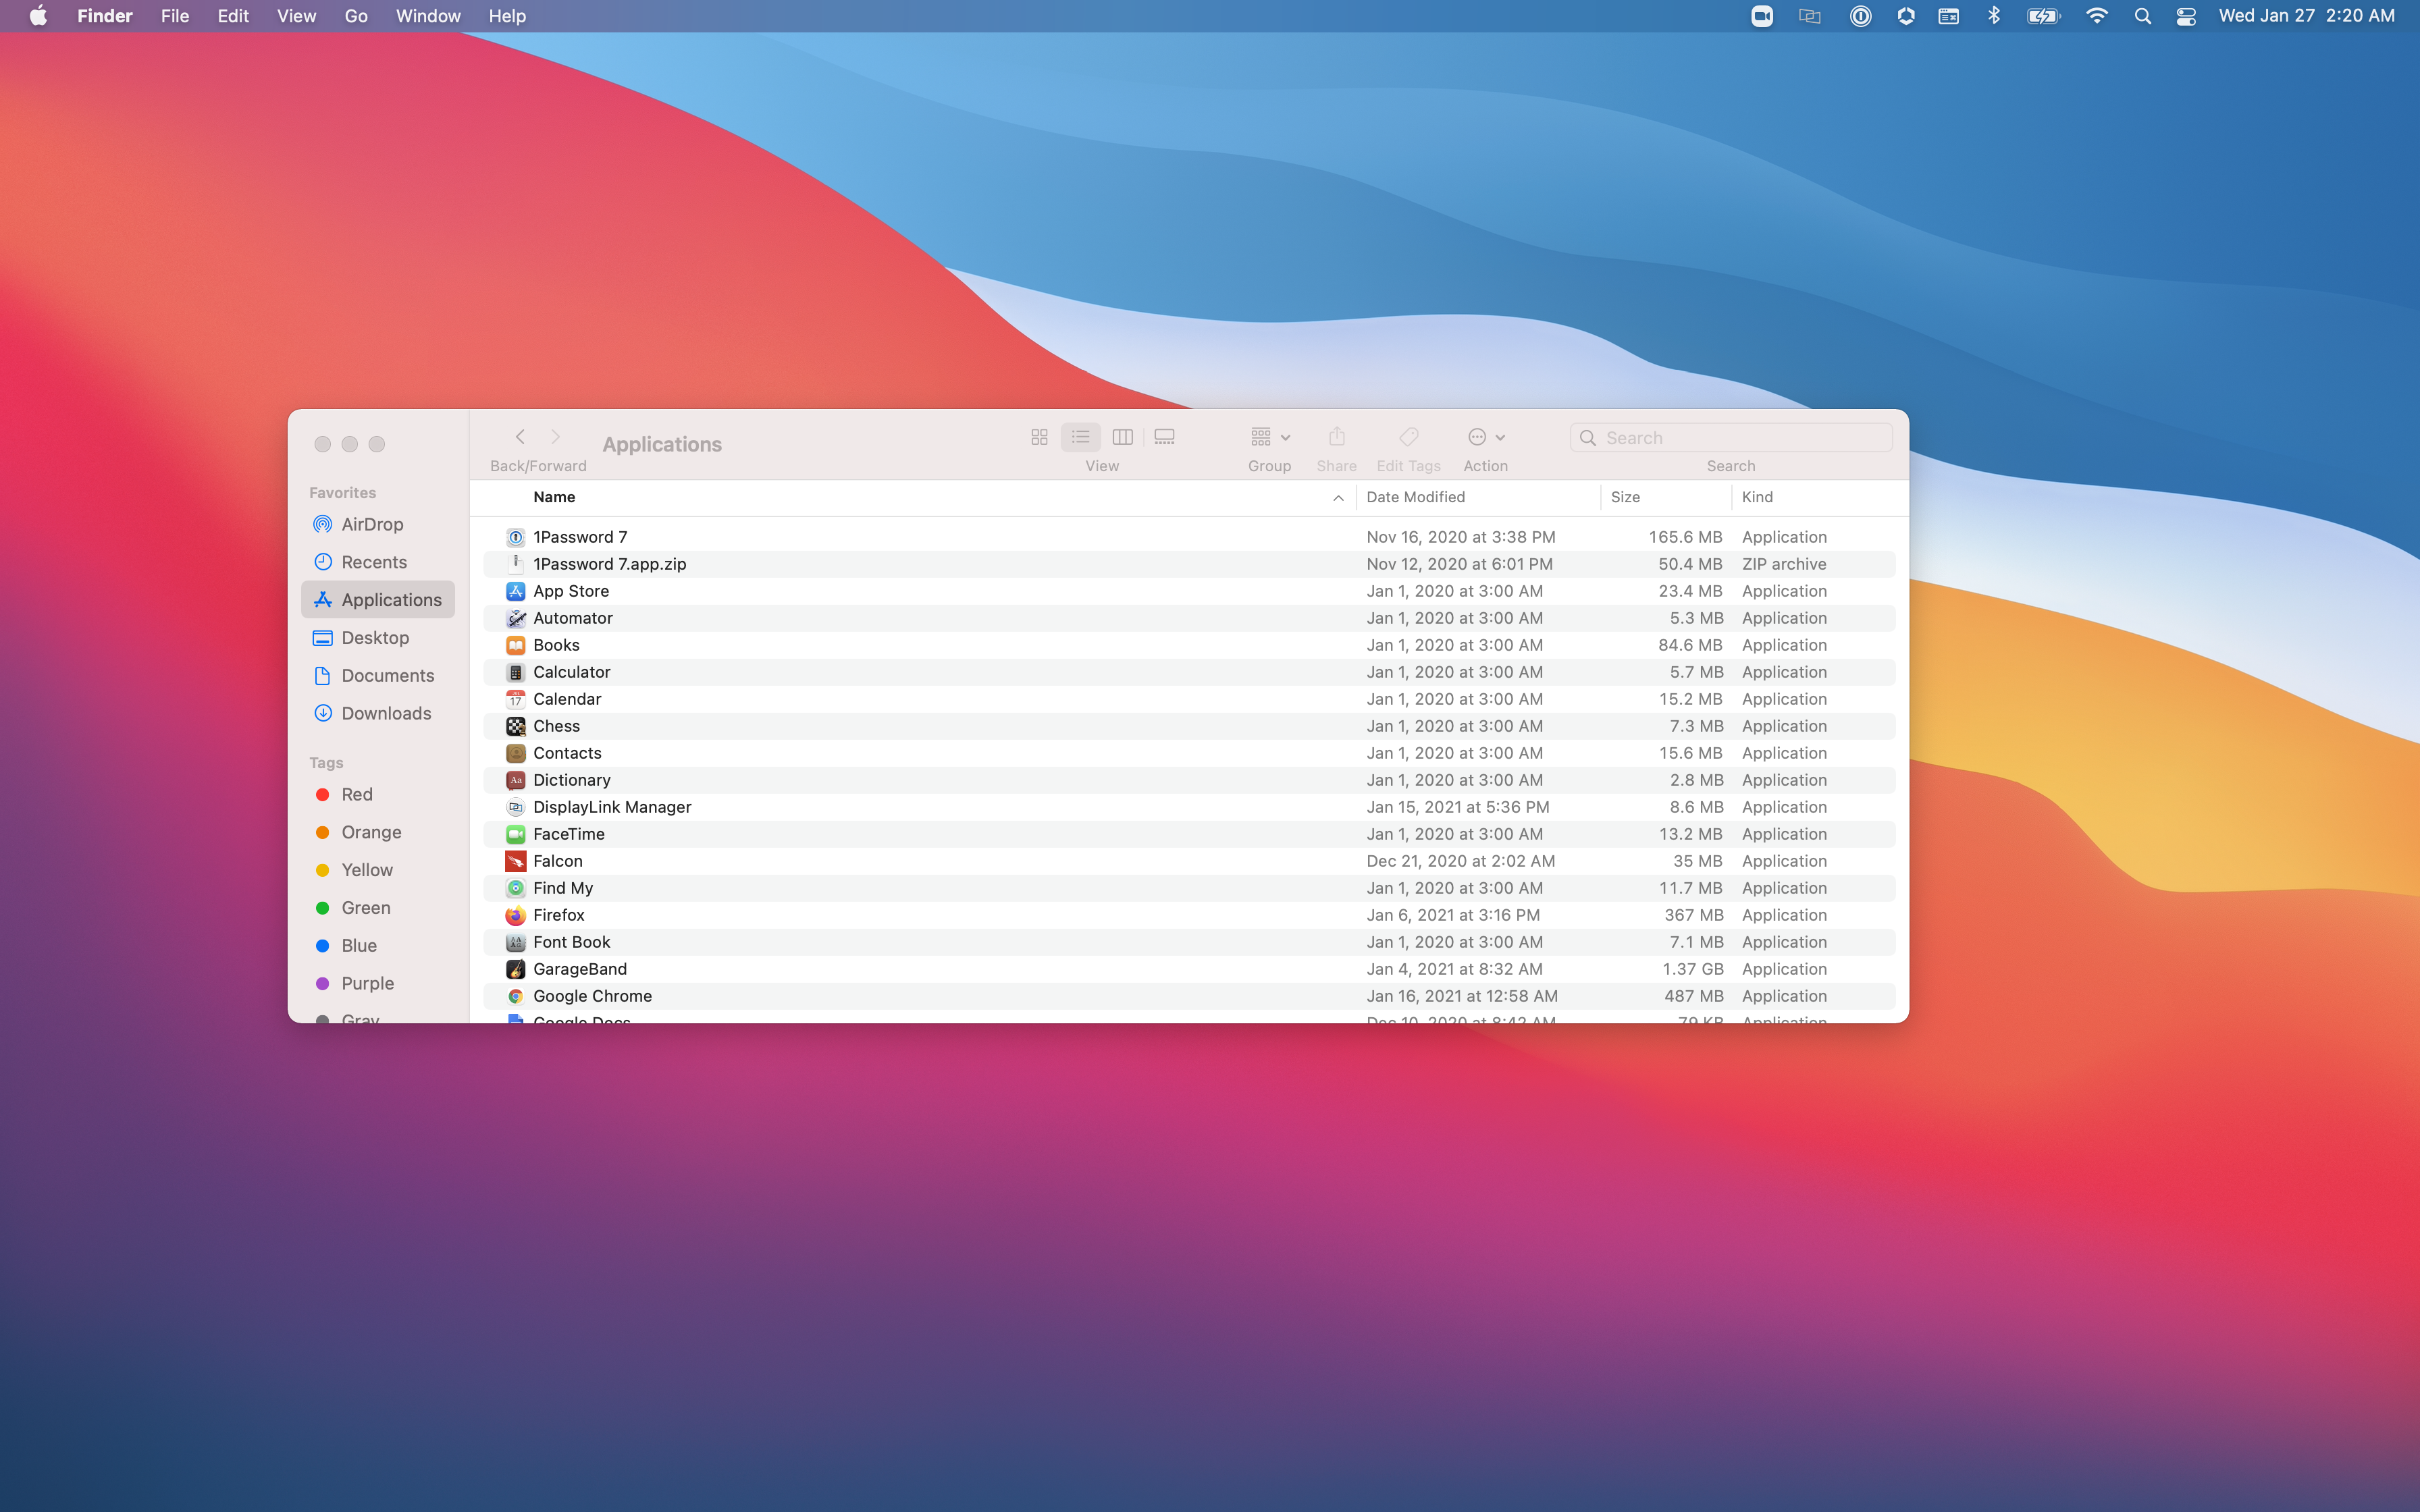
The Shell is one of the ways we can interact with a computer. It is a program that allows users to tell the computer what to do, to give the computer a “command”, and is commonly used through a command line interface (CLI).
Another, perhaps more common way we tell the computer what to do is through the use of a graphical user interface (GUI). This usually involves a “point and click” approach.
Why use the shell?
Isn’t pointing and clicking easier?
Thought experiment
For example, let’s say that we need to take the third line of a file and put it into a single new file. This is easy to do with a GUI and requires just 4 steps:
- Open the original file.
- Copy from original file
- Paste to the new file.
- Close each file.
What if we make it more complicated?
- Do this with 1000 files?
- Each file is in it’s own directory?
Take a look below to see the process for GUI and CLI.
1. Open the original file.
2. Copy from original file
3. Paste to the new file.
4. Close each file.
5. Navigate to another file.
6. Repeat steps 2 through 5 999 times until you are done.
for i in */*.txt;
do;
sed -n3 '3p' $i > new.txt;
doneFor this task, the GUI was tedious, time-consuming, and error-prone while the CLI was a single-command, quick, and relatively error proof.
Using the shell
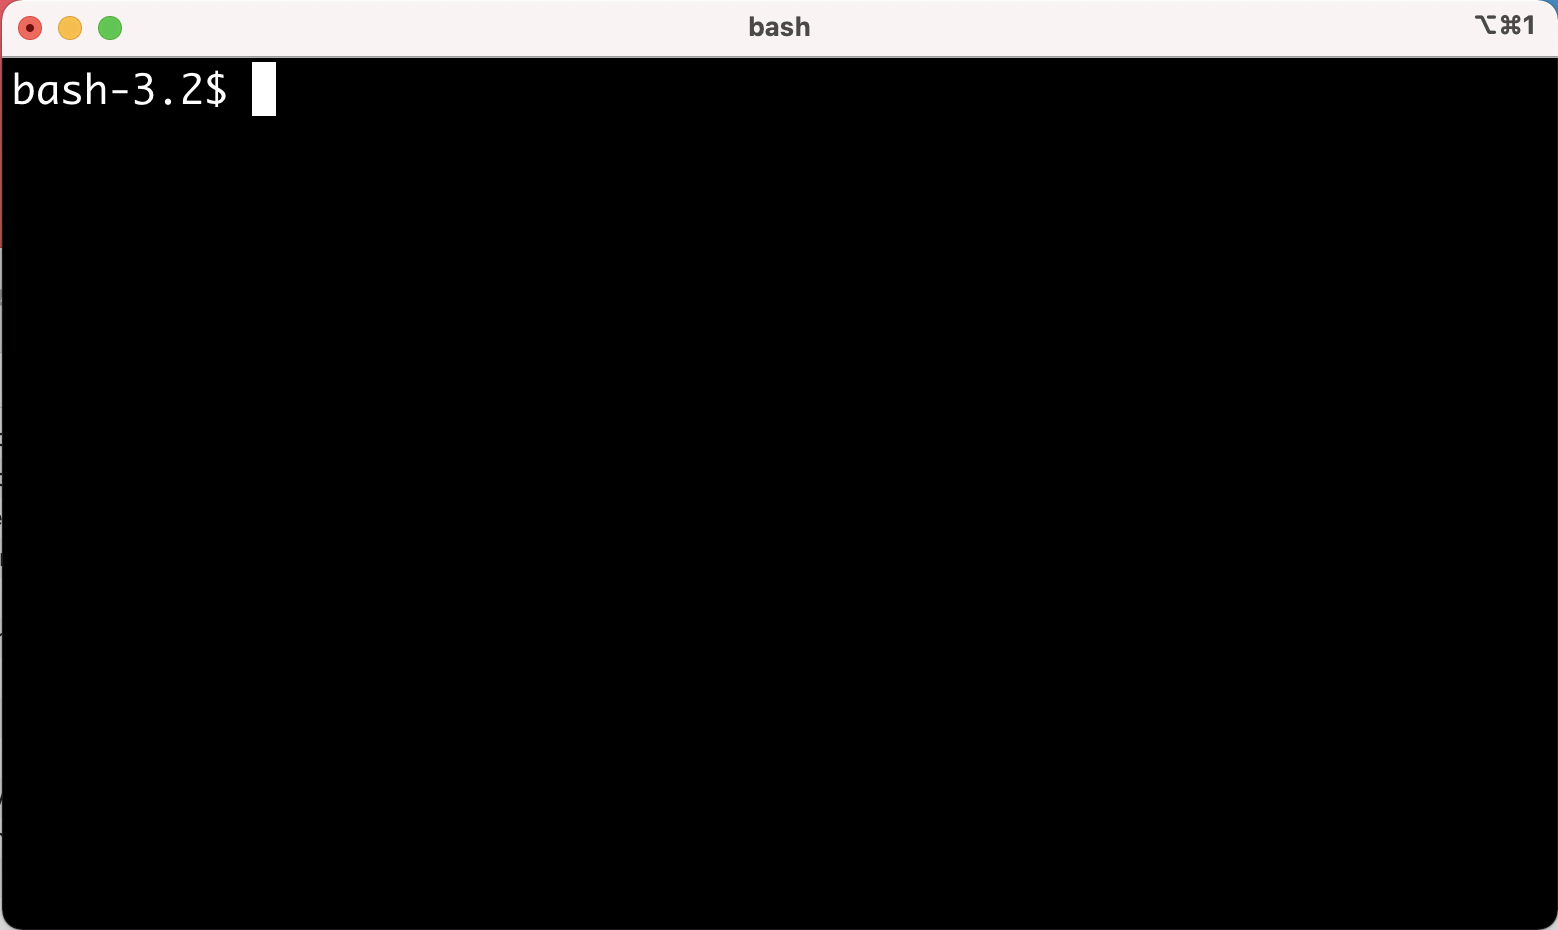
Let’s start using the shell. Open the shell (terminal) on your computer.
Running our first command
Once we open our terminal, the $ shows us that shell is ready for input.
ls commmand
lsstands for list- lists objects (files, directories, etc.) in a location
In terminal, type ls and press enter/return.
(base) czimacos3304:~ csifuentes$ ls
Applications            Downloads               Movies                  VirtualBox VMs          miniconda               setup.sh
CytoscapeConfiguration  Dropbox-Uploader        Music                   bin                     miniconda3              single-cell-curation
Desktop                 EnsDb.Xtropicalis.v101  Pictures                course                  notebooks
Documents               Library                 Public                  igv                     notes
(base) czimacos3304:~ csifuentes$
Everything that is in your home directory is listed, alphabetically.
Upon successful completion of the ls command, the $ prompt is displayed, signalling that the shell is ready again.
Our first error
This is great, but what if we make a mistake? What happens then?
The shell provides (usually) helpful and informative error messages. Let’s test this by typing ks into the terminal instead of ls.
(base) czimacos3304:~ csifuentes$ ks
bash: ks: command not found
(base) czimacos3304:~ csifuentes$
The shell returned an error bash: ks: command not found. In this instance, it tells you that ks is not a command, or at the very least that it cannot find that command.
We’ll learn more about commands and command structure soon, but first let’s learn about the filesystem.
Command syntax
Shell commands follow a general syntax.
command option argument
commandis the main commandoptionmodifies the behavior of the commandargumentthe source and/or target of the command
Let’s take a look at a few examples:
| Command | Option | Argument |
|---|---|---|
ls |
-F |
/ |
mv |
-i |
/Users/path/file /other/directory |
- Options use either
-or--to signal their usage. - Options are sometimes called flags.
- Arguments are sometimes called parameters.
- Depending on the command, arguments can be either a target (as in the
lscommand) or both a source and target (as in themvcommand)
Case matters
What happens if we run the same command, but change the case? Let’s try with an example. We’ll use the ls command and the size option, s, which lists the directories and files, but add their block sizes alongside.
First, let’s run the command ls -s.
(base) czimacos3304:~ csifuentes$ ls -s
total 8
0 Applications                  0 Dropbox-Uploader              0 Pictures                      0 igv                           8 setup.sh
0 CytoscapeConfiguration        0 EnsDb.Xtropicalis.v101        0 Public                        0 miniconda                     0 single-cell-curation
0 Desktop                       0 Library                       0 VirtualBox VMs                0 miniconda3
0 Documents                     0 Movies                        0 bin                           0 notebooks
0 Downloads                     0 Music                         0 course                        0 notes
(base) czimacos3304:~ csifuentes$
Now let’s do the same, but with a capital s, ls -S.
(base) czimacos3304:~ csifuentes$ ls -S
Downloads               CytoscapeConfiguration  Dropbox-Uploader        igv                     Music                   miniconda
Library                 course                  EnsDb.Xtropicalis.v101  Applications            Public                  notes
Documents               miniconda3              Movies                  notebooks               VirtualBox VMs
setup.sh                single-cell-curation    Pictures                Desktop                 bin
We get a very different output. In the output above, we have the files/directories sorted by size (largest) file first.
Getting help
Command usage is not always intuitive. Additionally, we’re often not aware of all the options/flags that can be used with a particular command. If you need help with how to use a command, you can try the following (depending on the command).
| Method of getting help | Description | Example |
|---|---|---|
--help or -h option/flag |
Displays help menu for the command/program | ls --help |
man command |
Displays the manual for the command/program in-depth | man ls |
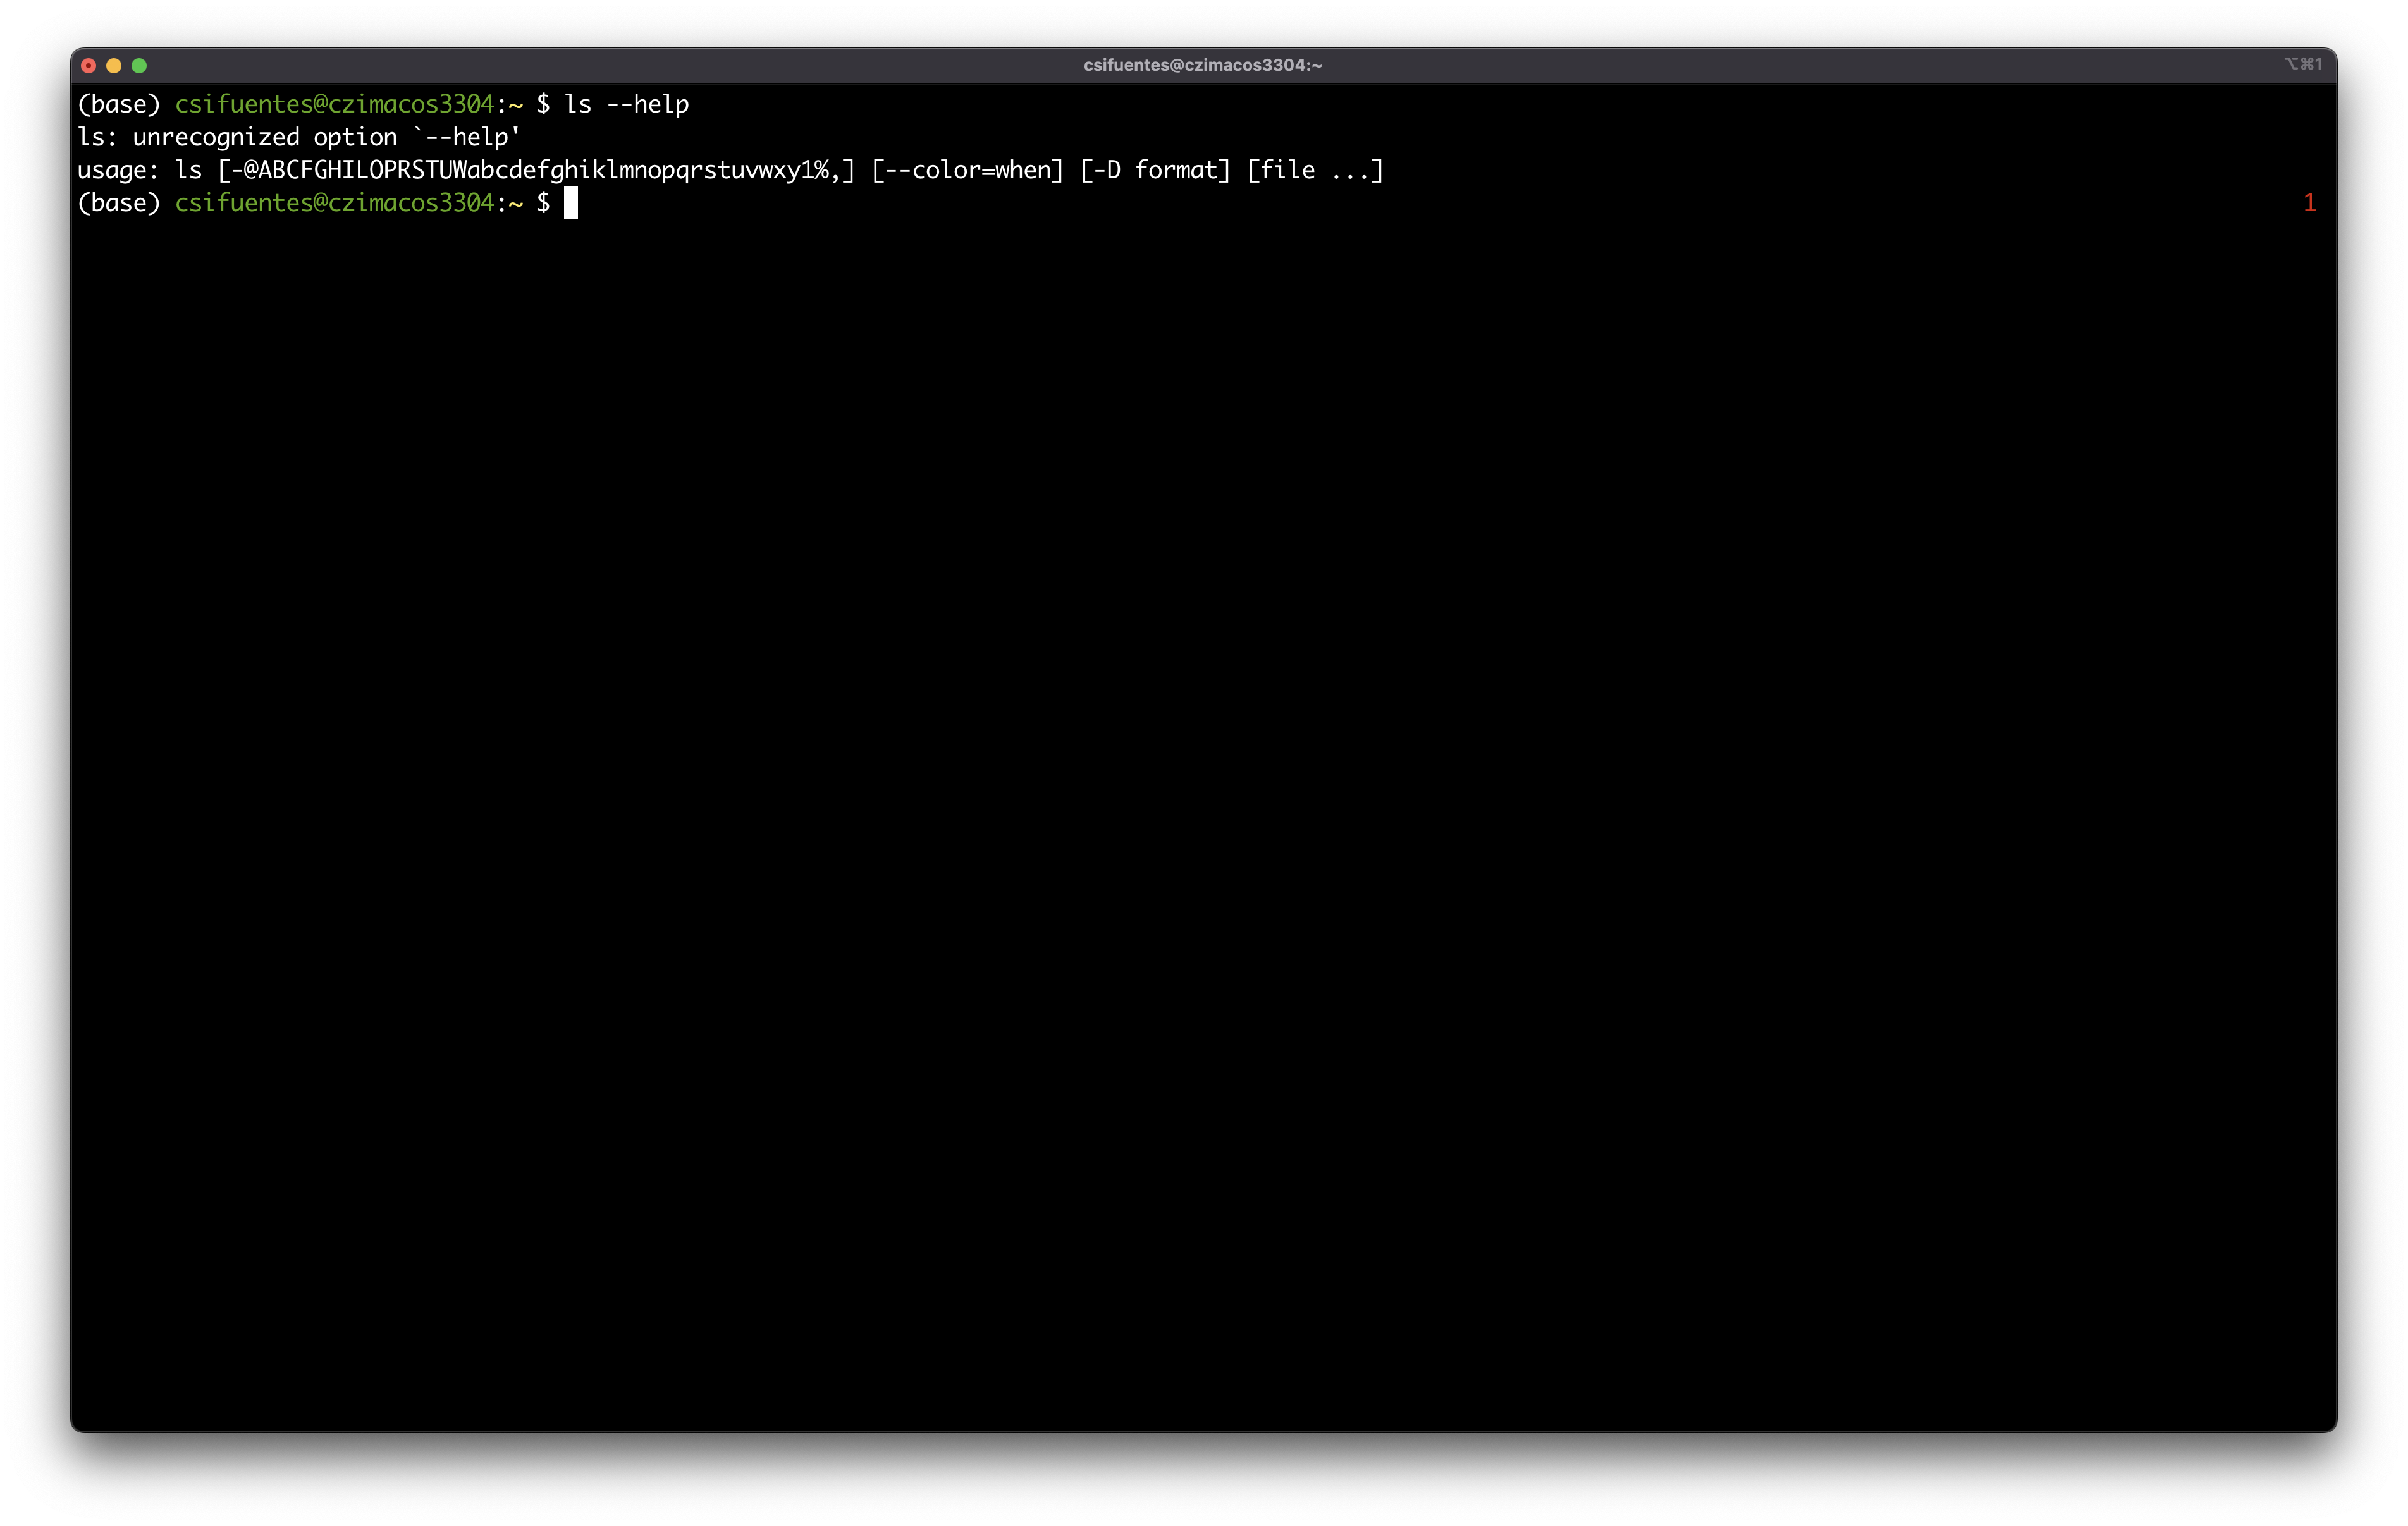
--help flag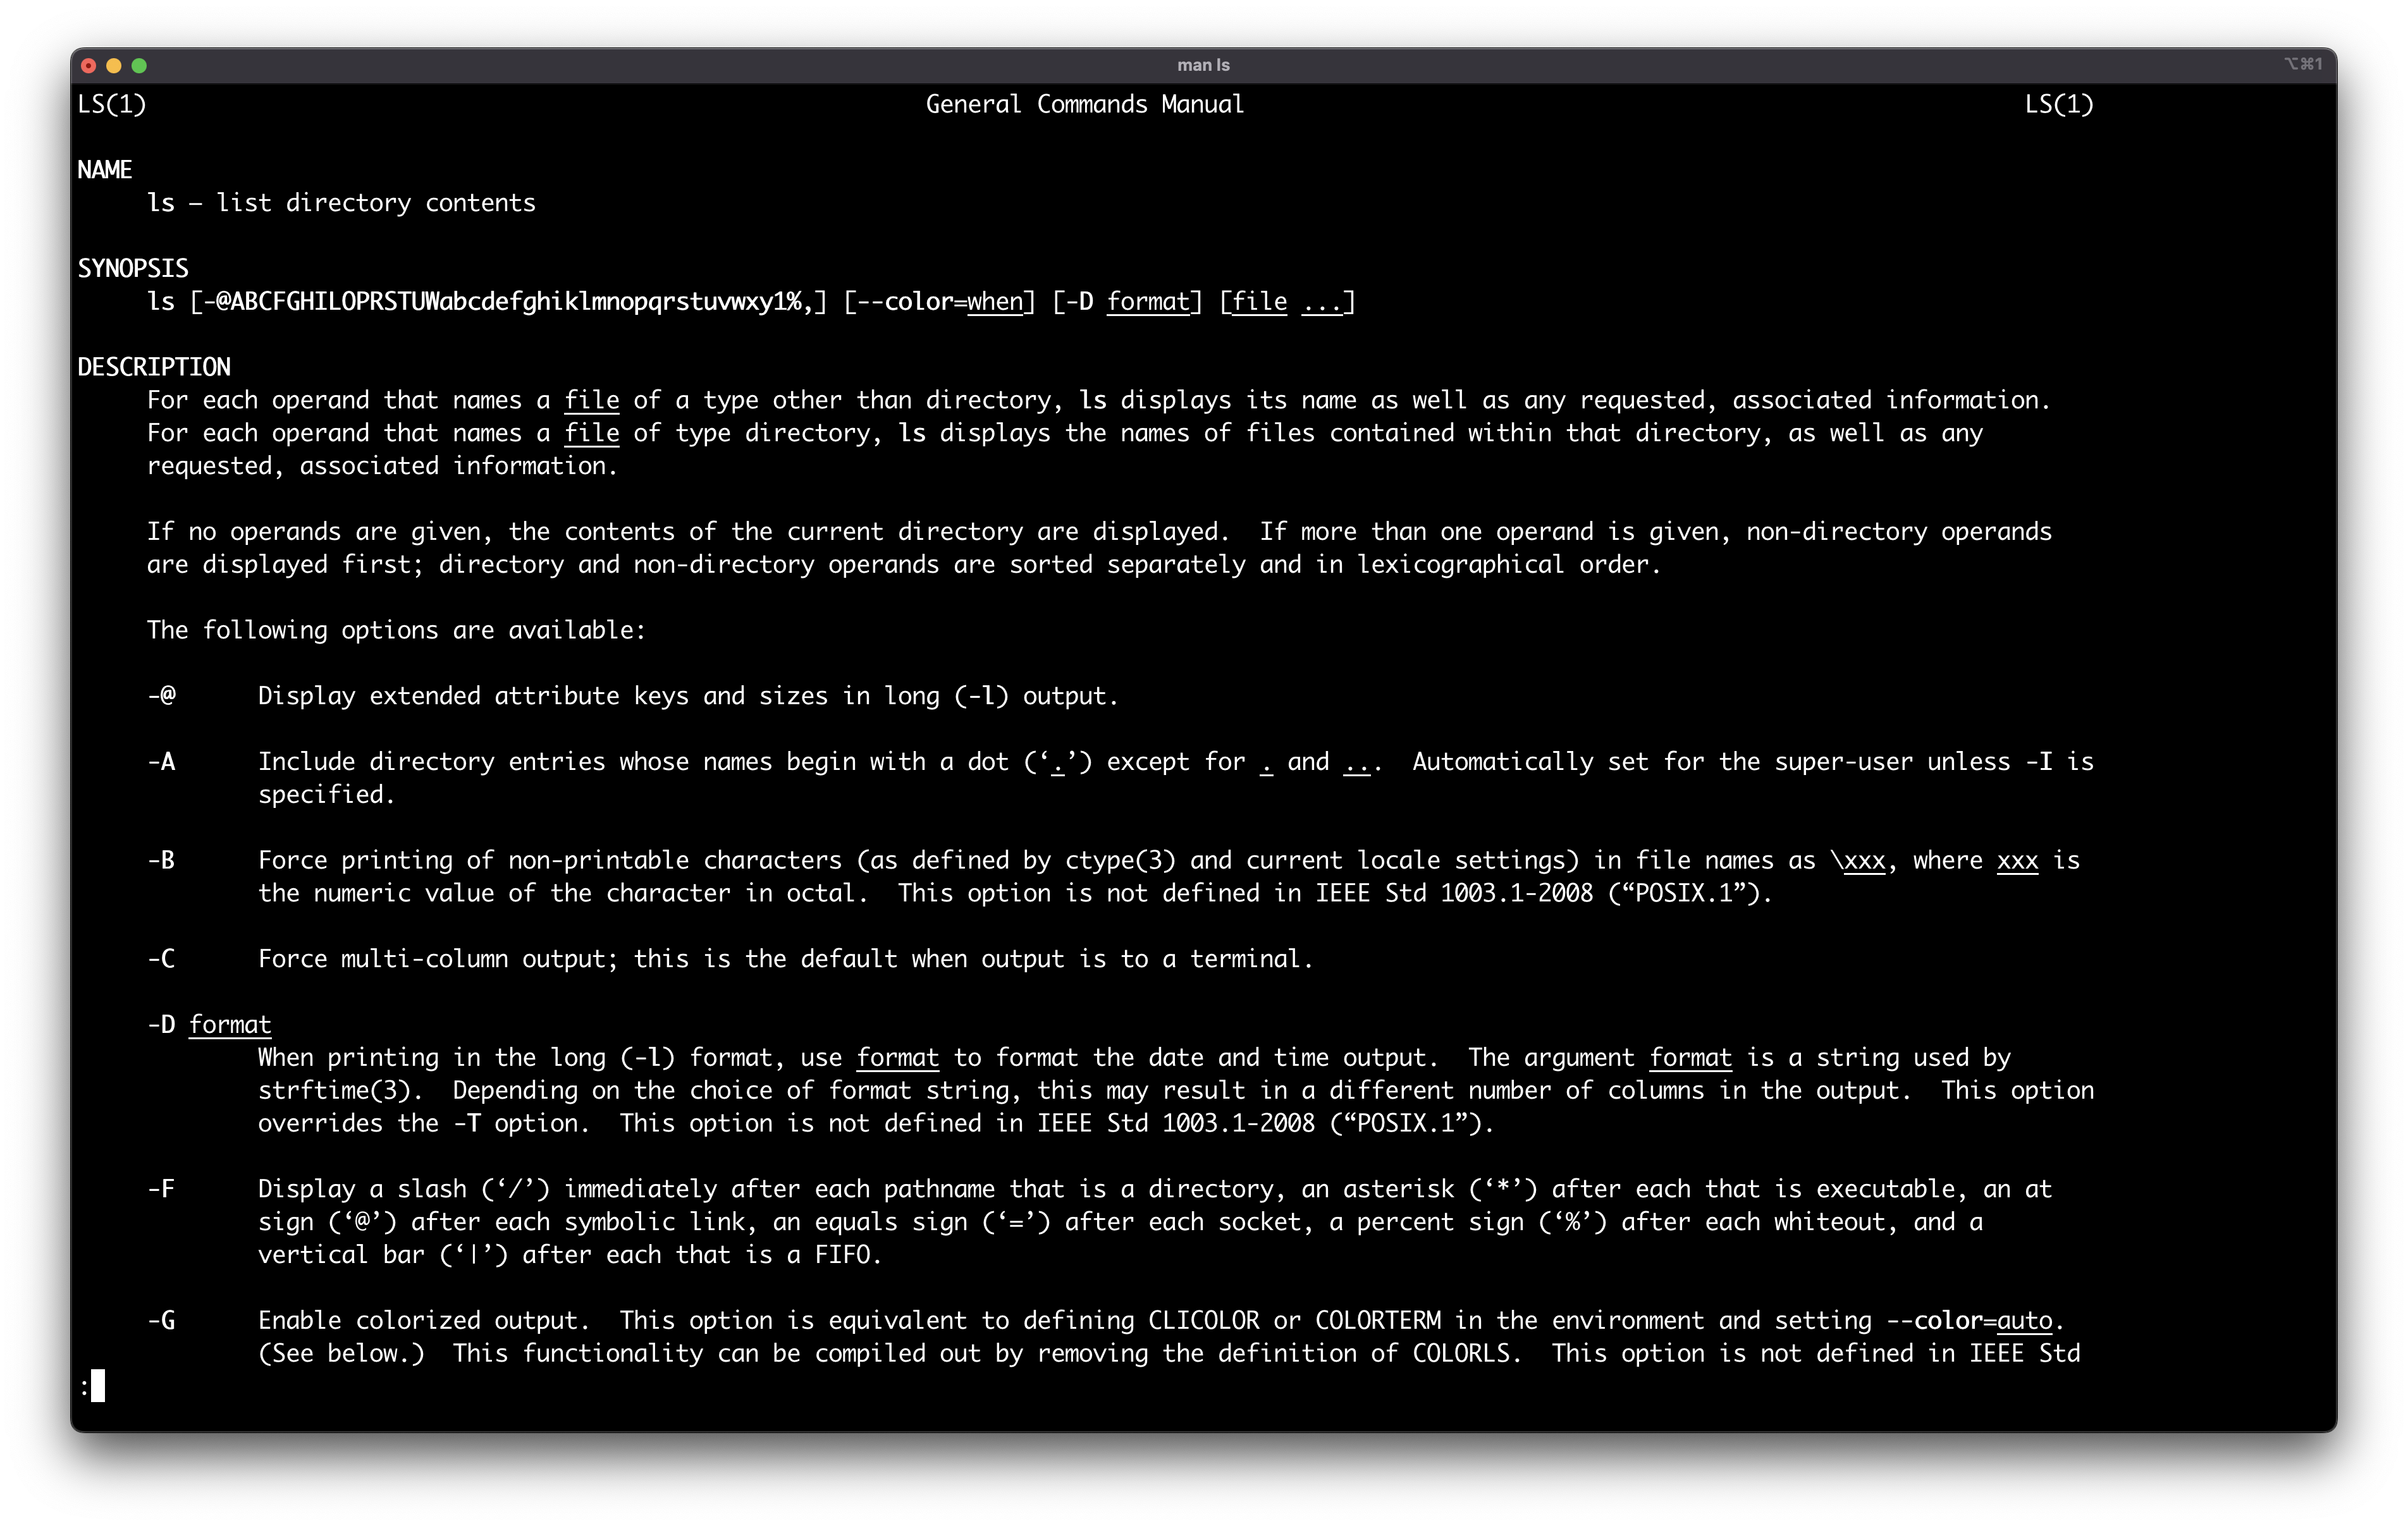
man commandUseful ls flags
There are A LOT of ls options/flags. A few quite useful ones are shows below.
| Flag | Description |
|---|---|
-l |
Returns the results in a long format, which provides information about
|
-h |
Returns the results with a human-readible size value |
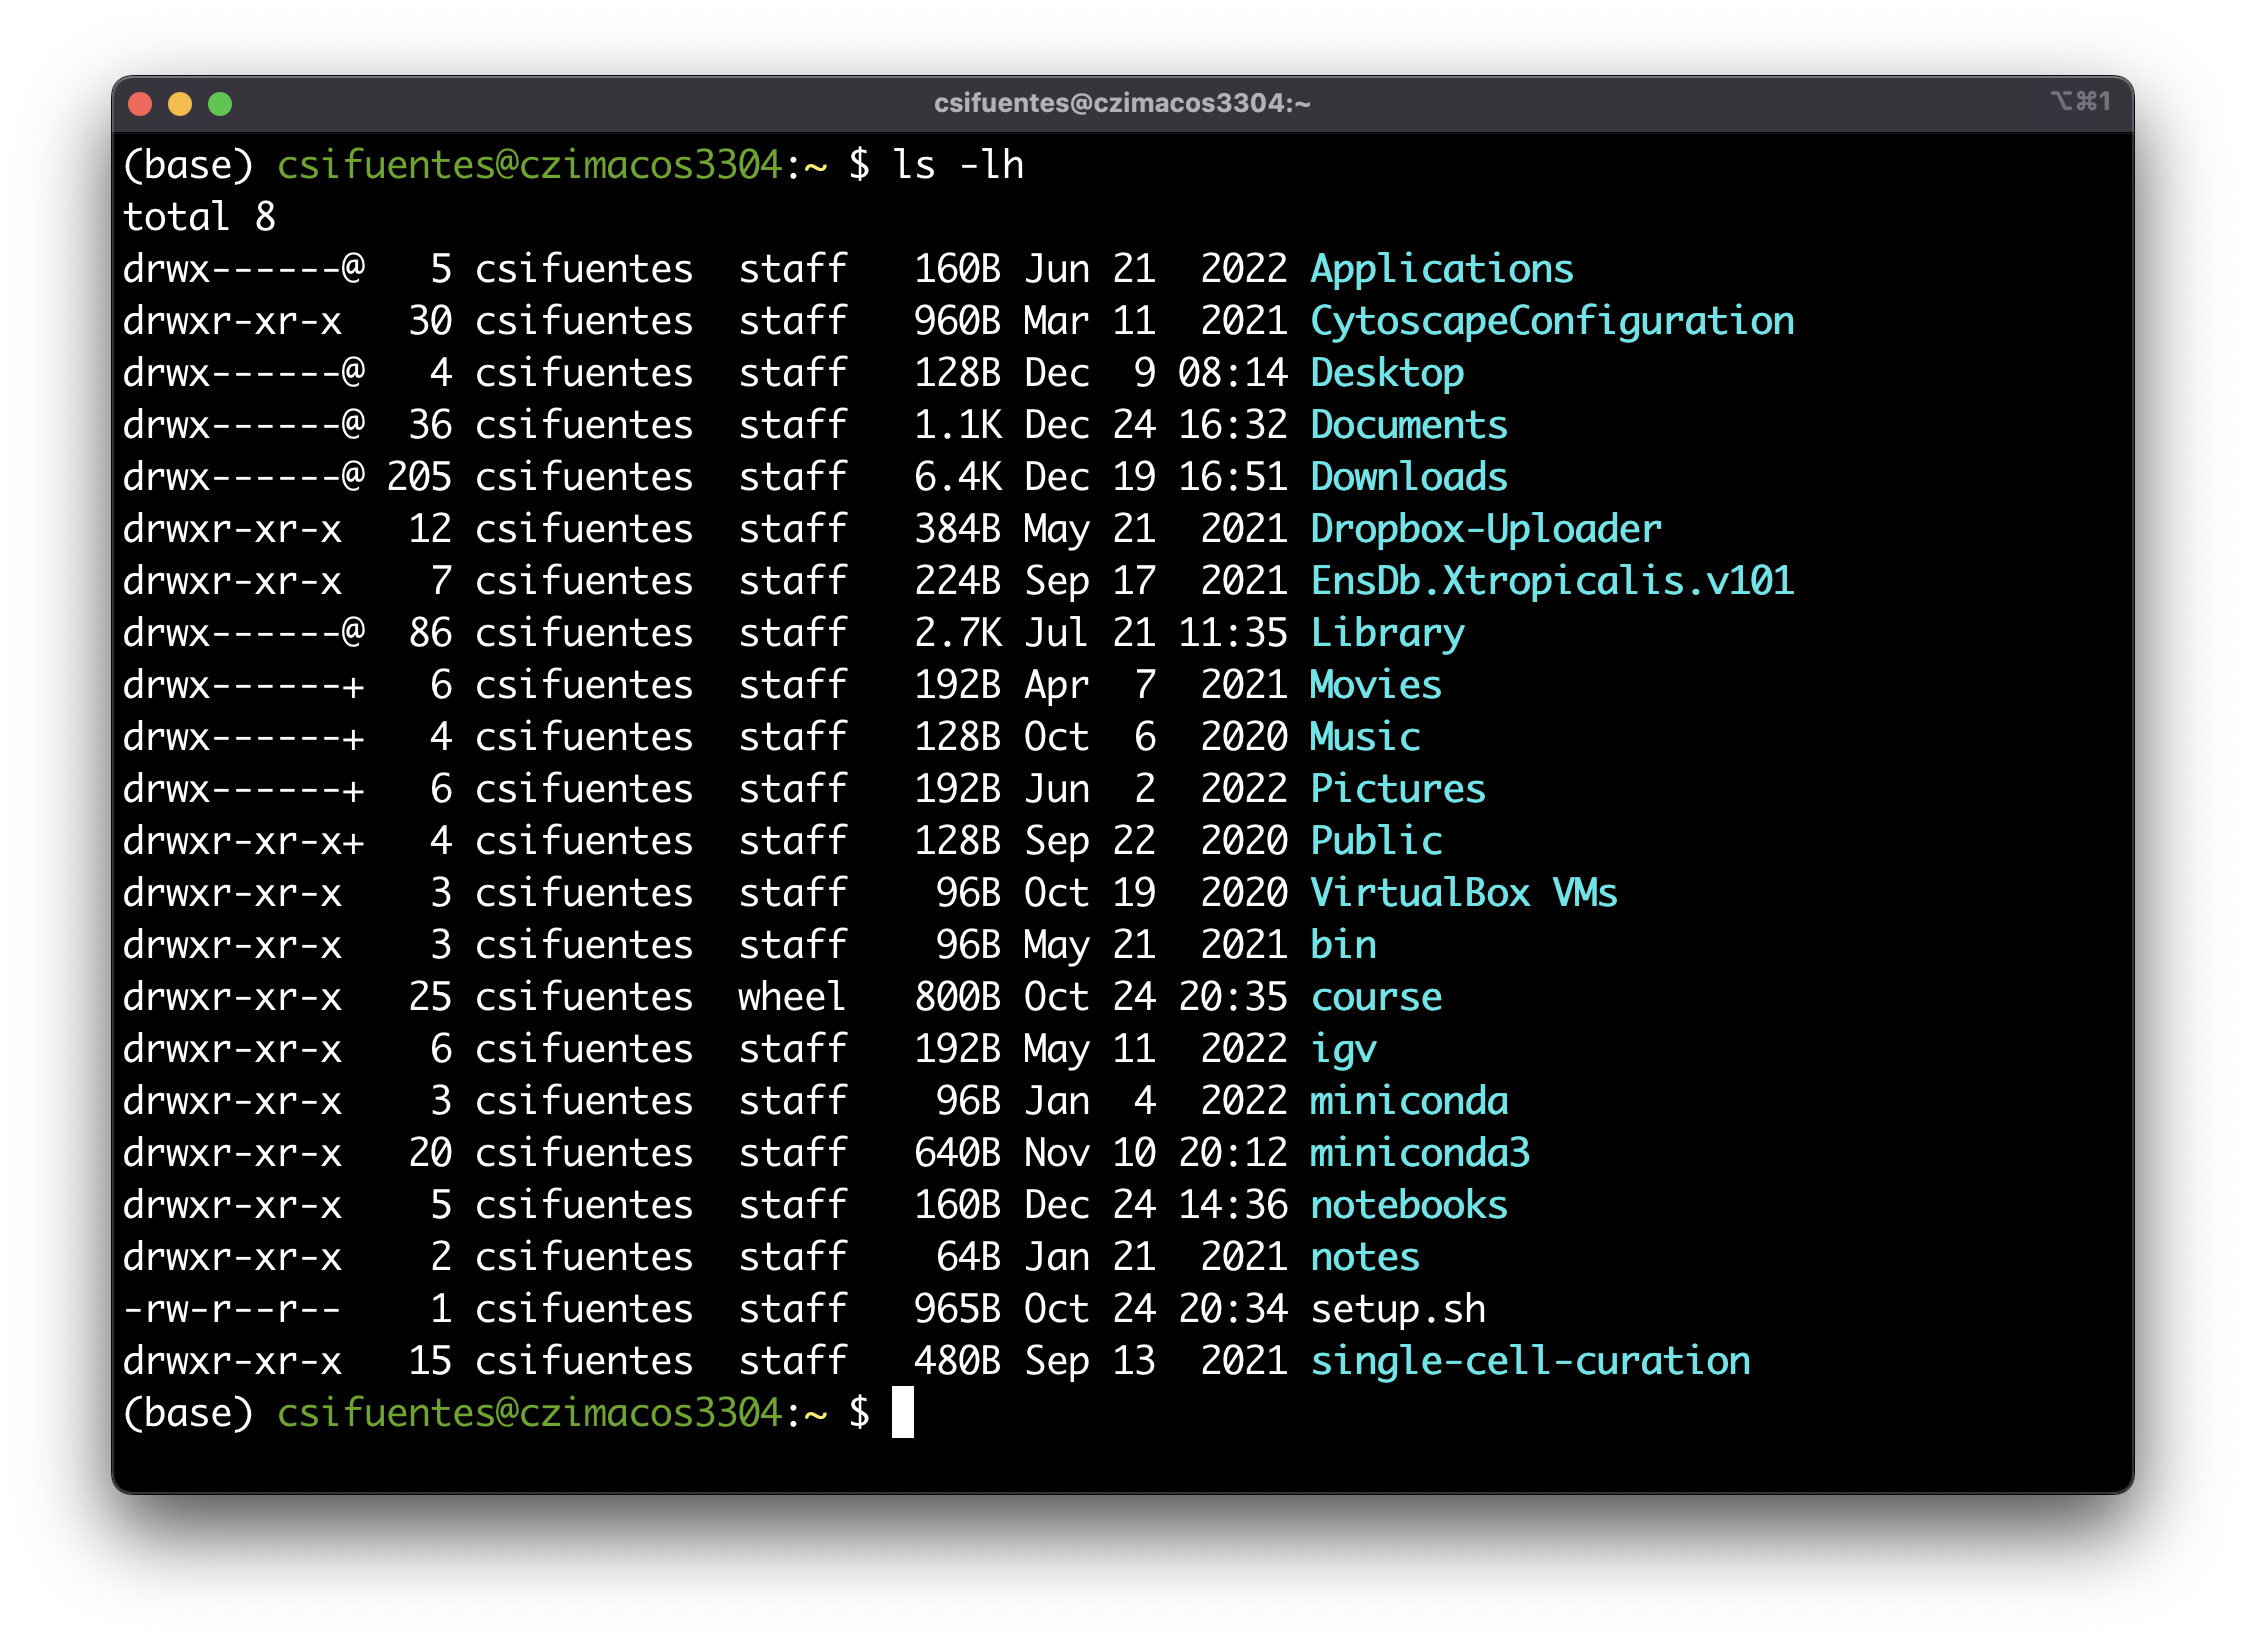
-lh options/flags.Above the results are now listed, one item per line, in alphabetical order, and the additional information provided when using the -l flag/option. Using the -h flag/option, the sizes are much easier to read (in bytes or kilobytes, megabytes, and gigabytes) as well.
Multiple options or flags can be used at the same time by simply putting them one after the other, as above.